We estimate three to five appointments to fit and fabricate a new artificial eye varying on difficulty of the case with subsequent follow up appointments. We schedule a 1-2 month check-up following the fabrication of each ocular prosthesis.
Our patients are fit and fabricated with a custom ocular prosthesis and are given individual-specific recommendations and instruction regarding every day and ongoing care. New and old patients alike are always welcome to contact us with any questions they may have concerning their artificial eye and socket. Let us describe the materials and process used here at Erickson Laboratories for the fabrication of the custom ocular prosthesis.
A Methacrylate shape is a medical grade acrylic plastic that is used to create our custom ocular prostheses. An alginate or silicone mold impression is taken of the socket so the resulting custom prosthesis is shaped for comfort, volume, motility and matching lid contours. The mold impression once duplicated into the acrylic shape becomes the body of the ocular prosthesis. Once the acrylic shape is polished, it can be placed into the socket to determine comfort, cosmesis, movement and gaze. We refer to this as “the fitting aspect” of the process. The Ocularist will sit down with you to begin to paint the iris to match the fellow eye. We use high quality sable brushes and natural earth powder pigments in painting the ocular prostheses. After the iris is painted, it is processed with a faux corneal clear capping and a secondary faux scleral capping. With this two part capping system we are able to create an iris that replicates the depth and beauty of a natural eye with a realistic limbal blend. Once we are happy with the fitting aspect and the painting match of the iris, we are ready to attach the iris to the body of the acrylic fitting shape. The Ocularist again takes up the paint brush and paints the sclera and veining aspect to replicate and match the fellow eye. A final capping of clear acrylic plastic is applied to protect these colors and produce a smooth finish for patient comfort. The eye is tried on and again assessed for comfort, cosmesis, movement and gaze. Once you go home with your new Ocular prosthesis we will schedule a 1-2 month check-up appointment. This allows time for the ocular prosthesis to settle in.
Your doctor’s skill and techniques to preserve the anatomical tissue structures when an eye is removed greatly assists us in our attempts to duplicate the natural EYE. Your doctor’s service does not end with the surgical procedures, as he/she is vitally interested in the rehabilitation of their patients. It is most important for you to follow your doctor’s instructions. We will also consult with your doctor in an effort to achieve comfort and the most desirable cosmetic results.
The process for a scleral cover shell is very similar to that of the ocular prosthesis as the scleral cover shell is a type of ocular prosthesis. An additional appointment is sometimes necessary as the fitting aspect has the additional step of a clear shell fitting. This is a duplicate shape of the mold and fitting piece in clear plastic. It is used to assess the fit and health of the globe that is being covered by the ocular prosthesis. Throughout this fitting process, communication between the ocularists and patient is very important regarding how comfortable the clear shell feels to the patient.
Step 1: Choosing an impression tray to start the mold impression process

Step 2: Alginate or silicone has been introduced into the socket to arrive at the starting shape.
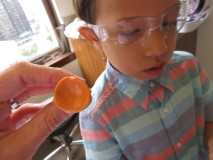
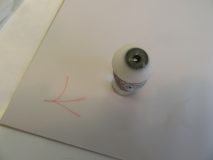
Step 3: Molding impression result ready to duplicate this shape into plastic.

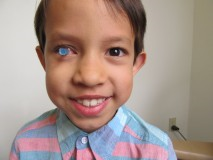
Step 4: Wearing the duplicated impression shape in white plastic and starting to figure out where to align the iris location.
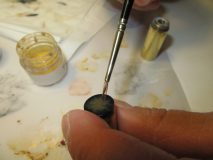
Step 5: Starting to paint iris to match fellow eye.
Step 6: Iris attachment and ready for veining and tinting of the sclera.
Step 7: Starting to add veining by the addition of fraying thread.
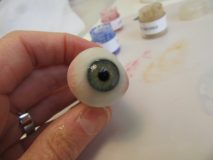
Step 8: Tinting the sclera to match the fellow eye
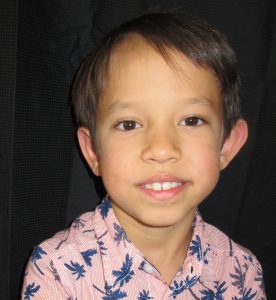
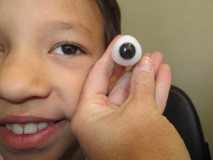
Final step: Finished prosthesis Eye OD pediatrics